 how-to
How to Improve Solar Panel Efficiency: 7 Steps
Table of Contents
- Step 1: Clean Your Solar Panels Regularly
- Step 2: Remove Shade and Obstructions
- Step 3: Optimize Panel Orientation and Installation Angle
- Step 4: Monitor Key Factors That Affect Solar Panel Performance
- Step 5: Use Solar Panel Monitoring Tools to Track Output
- Step 6: Upgrade Your Inverter and System Components
- How to Improve Solar Panel Efficiency: Quick Action Checklist
- Conclusion
- Frequently Asked Questions
Last Updated: October 16, 2026
Step 1: Clean Your Solar Panels Regularly
Solar panels collect dust, dirt, and debris over time. This buildup reduces light absorption and cuts energy production. Regular cleaning is one of the fastest ways to restore output.
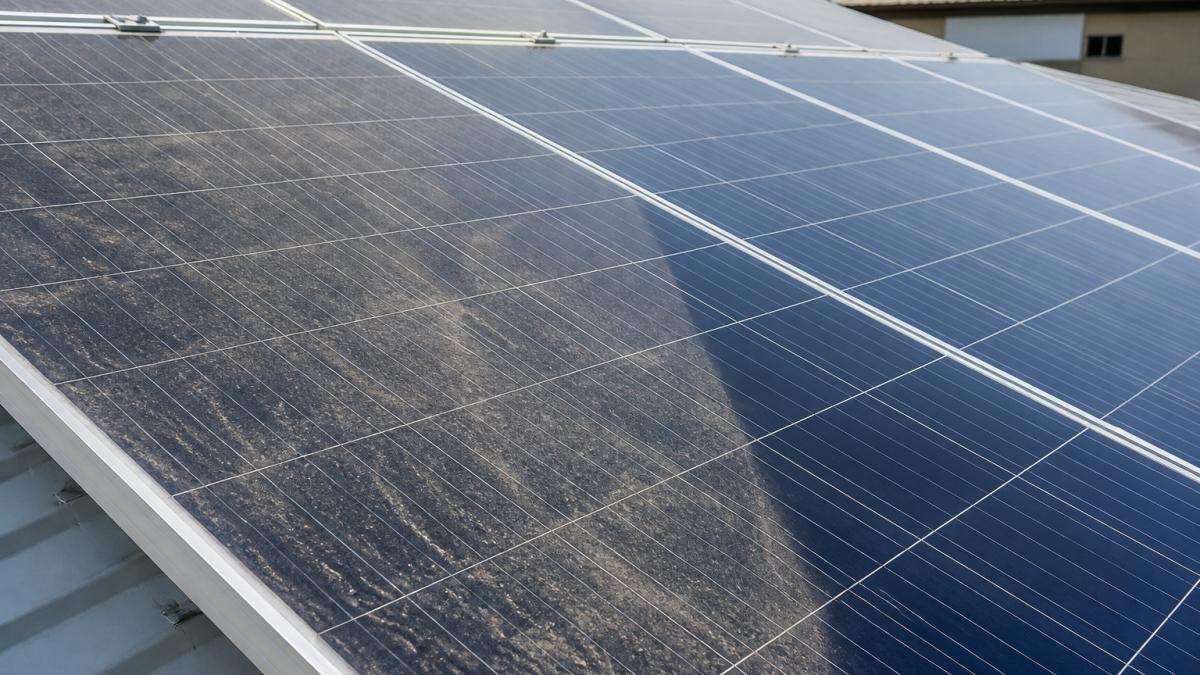
Most panels lose efficiency when dirt accumulates on the surface. Bird droppings, pollen, and sand create barriers between sunlight and the photovoltaic cells. Even a thin layer of dust can reduce power output by 5-10%.
Clean your panels every 3-6 months, or more frequently if you live in a dusty area. Here's the safe approach:
- Turn off your system before starting
- Use a soft brush or microfiber cloth
- Rinse with deionized water (tap water leaves mineral deposits)
- Avoid harsh chemicals or abrasive scrubbing
- Work during early morning or late afternoon to avoid thermal shock
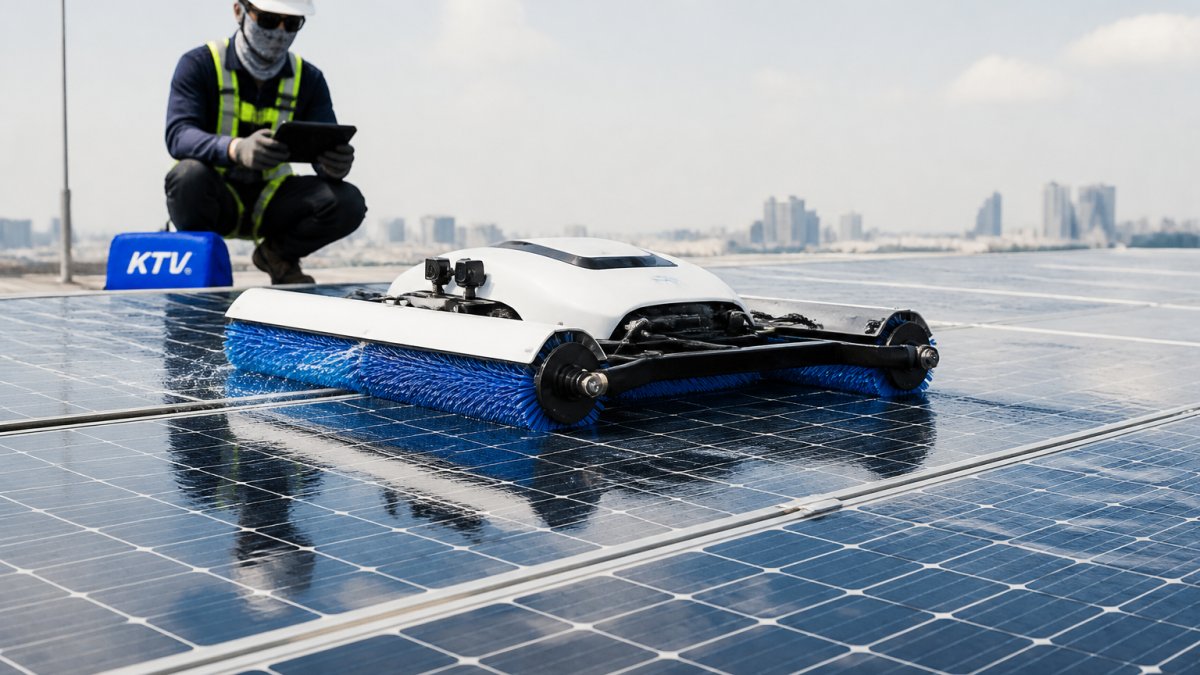
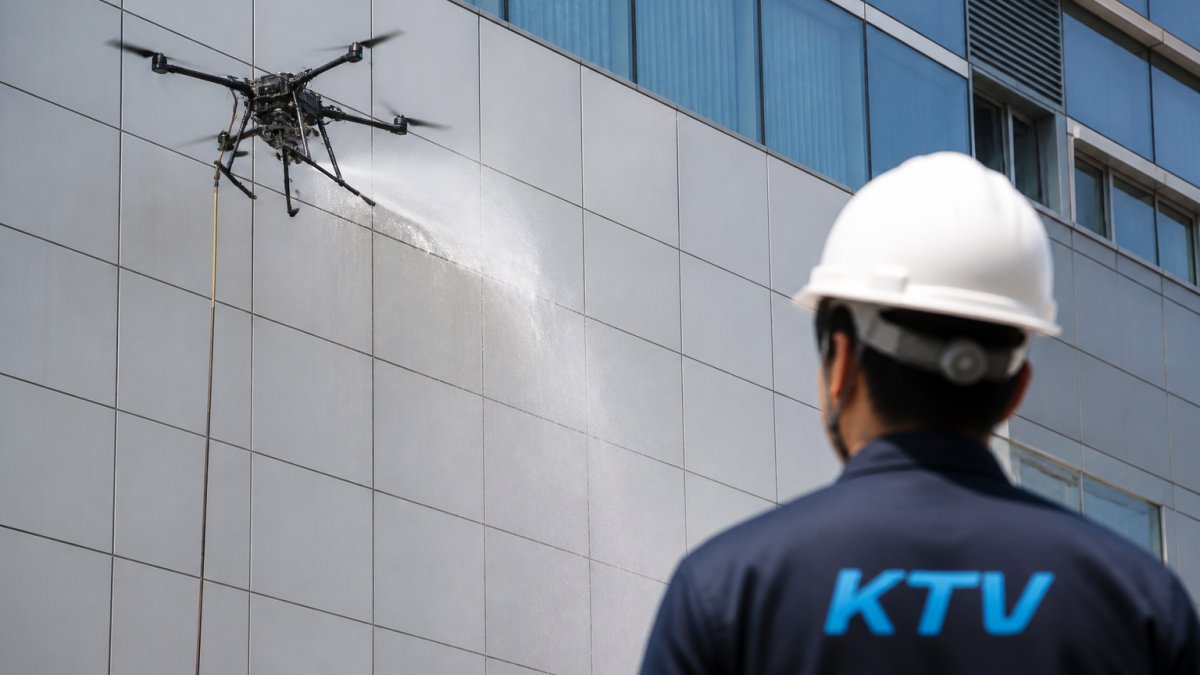
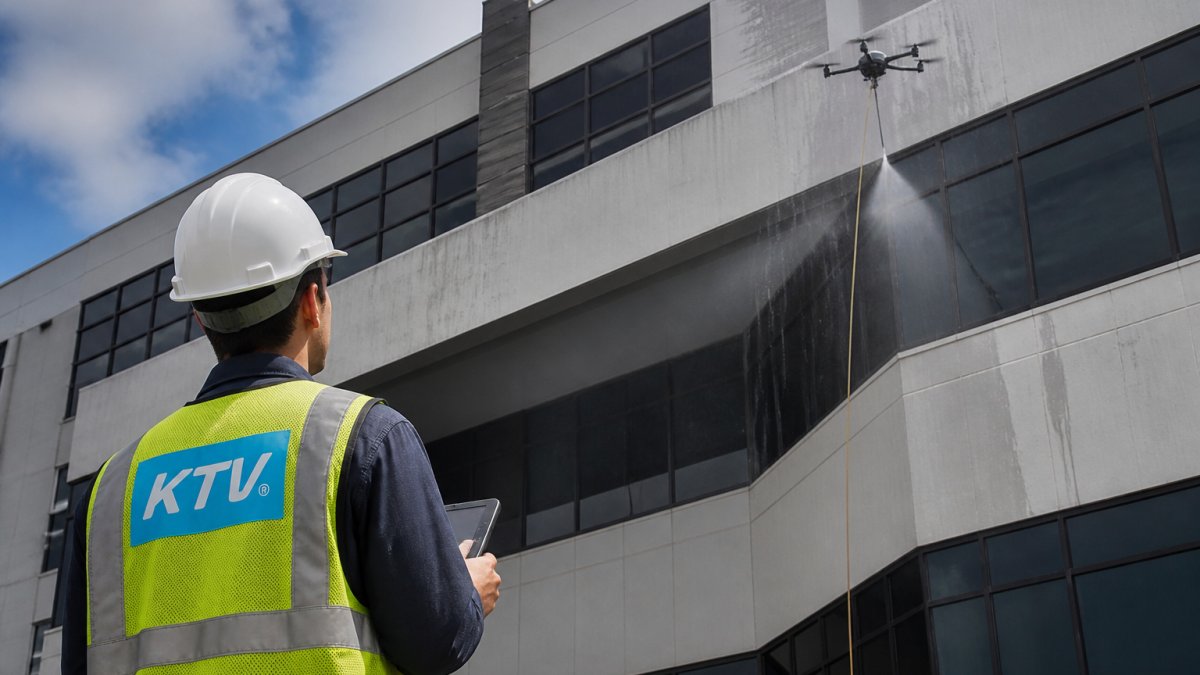
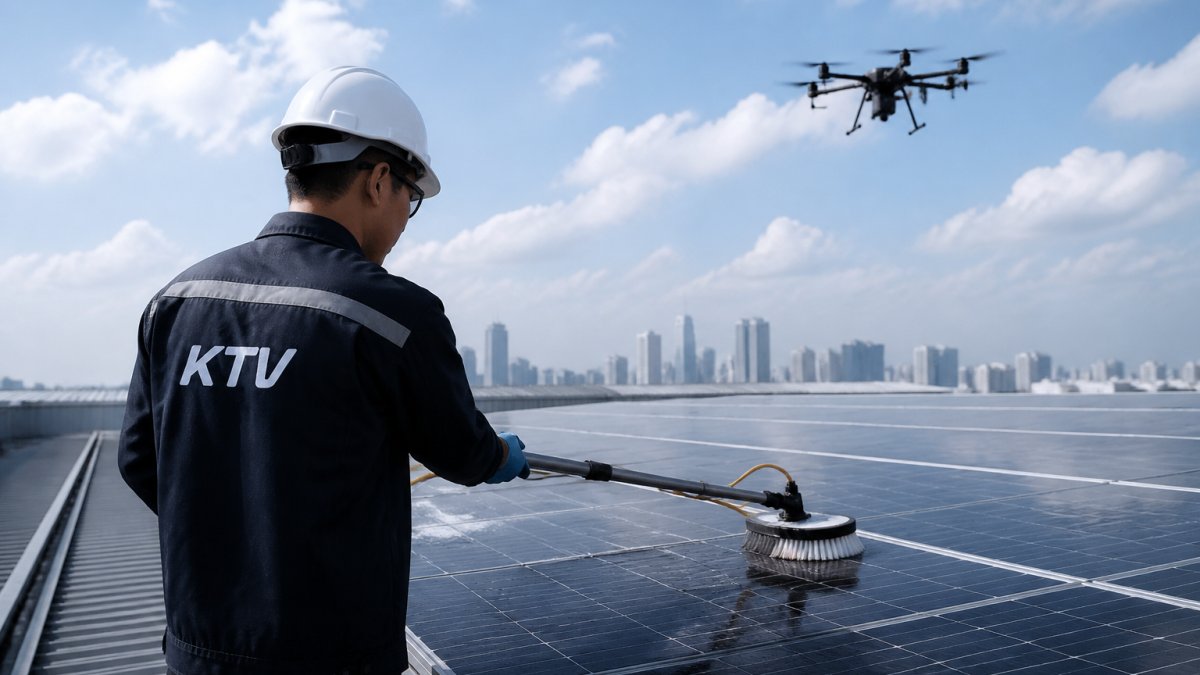
For large installations or hard-to-reach panels, automated cleaning solutions eliminate manual labor and safety risks. At KTV Working Drone Thailand, we use fully autonomous drone technology to clean panels efficiently without chemicals or work-at-height hazards.
Step 2: Remove Shade and Obstructions
Shade is the silent killer of solar panel efficiency. Even partial shade on a single panel can reduce output from your entire array.
Trees, buildings, and structures cast shadows that block sunlight. Unlike traditional electrical systems, solar panels connected in series mean one shaded panel drags down the performance of the whole string. A panel in shade might produce only 20% of its rated power, while unshaded panels nearby produce 100%.
Assess your installation for new obstructions:
- Trees that have grown taller
- New buildings or structures nearby
- Dust accumulation on nearby surfaces
- Debris from storms or weather events
If shade is unavoidable, consider these solutions:
- Trim branches that overhang your panels
- Reposition panels to a sunnier location if possible
- Install microinverters or power optimizers to isolate shaded panels
- Use a battery storage system to capture peak production hours
The key difference between a productive system and an underperforming one often comes down to sunlight access. Trees that provided no shade five years ago may now block critical morning or afternoon hours. Regular inspection catches these problems before they significantly impact annual energy production.
Step 3: Optimize Panel Orientation and Installation Angle
The angle at which your panels face the sun determines how much light they capture. This is one of the most important factors affecting solar panel efficiency.
Panel orientation means the direction your panels face. In most regions, south-facing panels capture the most sunlight throughout the day.
Tilt angle is how steeply your panels are angled. The optimal angle depends on your latitude.
If your panels are flat on a roof, they're not capturing maximum sunlight. Tilted panels intercept more direct rays, especially during morning and afternoon hours when the sun is lower in the sky.
Consider these adjustments:
- Install panels at a 25-35 degree angle for most installations
- Rotate east-west facing panels to face south if possible
- Avoid installations that face significant shade during peak production hours
- Use a solar site assessment tool to calculate your optimal angle
Professional installation ensures proper orientation from the start. If you're retrofitting an existing system, small angle adjustments can yield measurable improvements in annual energy production.
Step 4: Monitor Key Factors That Affect Solar Panel Performance
Temperature is the largest efficiency factor you cannot directly control, so the practical goal is to understand how heat affects output and to separate normal seasonal variation from a real fault.
Most crystalline silicon panels carry a temperature coefficient of roughly -0.30% to -0.45% per degree Celsius above the 25°C Standard Test Condition. A panel rated 400 W at 25°C therefore produces noticeably less on a 60°C rooftop afternoon.
Factors that drive cell temperature:
- Ambient air temperature and radiant heat from the roof surface
- Wind speed and airflow behind the array
- Mounting method (flush-mount traps heat; raised rails allow convection)
- Roof material and colour (dark surfaces re-radiate more heat)
- Time of day and panel soiling (dust absorbs and holds heat)
Practical cooling and heat-management measures:
- Maintain a gap of at least 10-15 cm between the panel backsheet and the roof surface where the mounting system allows it.
- Keep vegetation and parapet walls from blocking cross-wind across the array.
- Clean panels, dust both blocks light and raises cell temperature.
- Where the roof structure permits, consider elevated or ballasted mounting that improves convection.
- On ground-mounted systems, avoid surrounding the array with heat-retaining surfaces such as dark gravel or asphalt.
Distinguishing normal variation from a fault
A common pattern is that spring output exceeds summer output on the same array, even though summer has longer days. That is expected: cooler ambient air in spring keeps cells closer to their rated efficiency. Before assuming a fault, compare the current month against the same month in previous years using your monitoring data.
Signs that point to a genuine problem rather than heat:
- One panel or string consistently underperforms its neighbours at the same time of day.
- A sudden step-change in output that does not track weather.
- Output that stays depressed after a cool, clear morning.
- Inverter fault codes or clipping that appears outside the hottest hours.
If you want to quantify the effect on your own system, log panel output and ambient temperature at the same time each day for a few weeks. The slope of output against temperature gives you a rough local temperature coefficient you can use to set realistic expectations for the hottest months.
Step 5: Use Solar Panel Monitoring Tools to Track Output
Monitoring tools show you exactly how your system performs. They reveal problems before they become costly.
A good monitoring system tracks:
- Real-time power output
- Daily and monthly energy production
- System efficiency compared to expected output
- Alerts when performance drops below normal
Compare your actual output to predicted output based on weather and sunlight. If production is consistently 15-20% below expectations, something needs attention. It could be dirt, shade, equipment failure, or temperature effects.
Most modern inverters include built-in monitoring. Third-party monitoring apps provide more detailed analytics and longer data history. These tools are essential for identifying trends and diagnosing underperformance.
Use monitoring data to:
- Detect when panels need cleaning
- Spot equipment failures early
- Track seasonal performance patterns
- Measure the impact of maintenance improvements
- Verify that upgrades deliver expected results
Data from your monitoring system guides all other efficiency improvements. You can't improve what you don't measure. Without baseline data, you won't know if your cleaning routine actually helps or if shade removal delivers real benefits.
Step 6: Upgrade Your Inverter and System Components
Upgrades are the most expensive lever on this list, so they should be justified by measured underperformance rather than by a general desire for "better" equipment.
Start with the inverter
The inverter is the single component most likely to be the efficiency bottleneck on an older system.
When microinverters or power optimisers make sense
Compatibility checks before you buy
- Confirm the new inverter's DC input window matches your array's string voltage.
- Check whether the existing mounting and cabling can accommodate optimisers at each panel.
- Verify that the new monitoring platform is compatible with your existing data history, or accept starting a new baseline.
- For hybrid or battery-ready inverters, confirm the battery chemistry and communication protocol are supported.
Battery storage
Batteries do not raise panel conversion efficiency, they shift when energy is used. They are most valuable where time-of-use tariffs or export limits make self-consumption more attractive than exporting.
Framing the payback
A useful rule of thumb is to compare the upgrade cost against the annual value of the additional energy it delivers, not against the total system output.
System-specific guidance
- Small residential rooftop systems: prioritise cleaning, shade removal, and monitoring before considering component replacement.
- Larger residential or light-commercial systems with mixed shading: optimisers or microinverters often deliver the clearest gain.
- Ground-mounted or commercial arrays: focus on string-level monitoring and inverter replacement first, since panel-level electronics on a large array multiply cost quickly.
Before committing to an upgrade, request a written comparison of expected annual energy gain, installed cost, and simple payback from at least two qualified installers. If the payback stretches beyond the remaining warranted life of the surrounding components, the upgrade is usually not worth doing.
How to Improve Solar Panel Efficiency: Quick Action Checklist
Use this checklist to systematically improve your solar panel efficiency and track progress over time.
| Action | Frequency | Expected Impact | Difficulty |
|---|---|---|---|
| Clean panels | Every 3-6 months | 5-10% output gain | Easy |
| Remove shade obstructions | Annually | Varies (5-30%) | Medium |
| Check panel tilt angle | Once during installation | 3-5% output gain | Medium |
| Monitor system output | Continuously | Identifies problems | Easy |
| Inspect for equipment damage | Annually | Prevents major losses | Easy |
| Upgrade inverter or components | As needed | 2-5% efficiency gain | Hard |
Start with the easiest actions first. Cleaning and monitoring require minimal effort but deliver measurable results. Shade removal and angle optimization take more work but provide larger improvements. Equipment upgrades are the most involved but offer long-term efficiency gains.
Conclusion
To improve solar panel efficiency, start with the basics: keeping panels clean, removing shade, and optimizing orientation. These three actions alone can restore 10-20% of lost production in most systems.
Regular monitoring reveals which efficiency factors matter most for your specific installation. Temperature, shade, and dirt accumulation affect every system differently based on location and design. Data guides your decisions about which upgrades deliver real value.
At KTV Working Drone Thailand, we help facility managers and asset owners maintain peak solar panel performance through autonomous drone cleaning. We provide independently verifiable ESG data and auditable digital records, so your efficiency improvements are documented and compliant with regulatory requirements.
The most efficient solar panel is one that stays clean, receives maximum sunlight, and operates at optimal temperature. By following these six steps, you'll keep your system performing at peak capacity for decades to come.
International Energy Agency guidelines on solar panel maintenance
Photovoltaic efficiency research from the National Renewable Energy Laboratory
Solar panel performance standards and testing procedures
Frequently Asked Questions
How often should solar panels be cleaned to maintain efficiency?
Cleaning frequency depends on your environment and weather patterns. In dusty or dry climates, quarterly cleaning helps maintain optimal energy production. After heavy rain or storms, inspect panels for debris and residue. Most residential systems benefit from 2-4 cleanings per year, while commercial installations with large arrays may require more frequent maintenance. Regular monitoring of power output will alert you to performance drops that signal cleaning is needed.
What factors affect solar panel performance the most?
Panel temperature, shading, dust and dirt accumulation, and installation angle are the primary factors affecting solar panel performance. Temperature causes efficiency losses, panels operate less efficiently in heat. Partial shading from trees, buildings, or debris can reduce output by 10-25%. Dust, pollen, and bird droppings block sunlight absorption. Installation angle and orientation determine how much sunlight reaches the cells throughout the day. Inverter quality and system age also impact conversion efficiency and total electricity generation.
Can monitoring software help improve solar panel efficiency?
Yes. Solar panel monitoring tools provide real-time visibility into power output, helping you spot performance drops early. When actual output falls below expected levels, monitoring data helps identify issues like shading, equipment failure, or maintenance needs. This enables faster troubleshooting and corrective action. Monitoring also tracks energy losses and seasonal performance variations, allowing you to make data-driven decisions about upgrades or maintenance schedules. For commercial systems, monitoring provides auditable records for ESG reporting and regulatory compliance.
Does shade reduce solar panel output?
Yes, significantly. Even partial shading of a single panel can reduce total system output by 10-25% or more, depending on system design. This occurs because shaded cells generate less power, and in string-configured systems, this affects the entire string's performance. Removing obstructions from nearby trees, buildings, or structures is one of the highest-impact efficiency improvements. If shade is unavoidable, consider microinverters or power optimizers, which allow unshaded panels to operate at full capacity independently of shaded ones.