 how-to
How Do You Reduce Building Facade Maintenance Risks?
Last Updated: November 4, 2026
Quick Summary
Reduce facade maintenance risks by running a repeatable inspection checklist, ranking each defect by likelihood, consequence, exposure and urgency, and scheduling routine plus trigger-based inspections. Protect workers by minimizing time at height and follow a clear response plan for any loose element.
- Inspect cladding, sealants, joints and coatings every time, recording location, defect type and a photo.
- Rank each finding on four factors: likelihood, consequence, exposure and urgency.
- Critical findings such as loose elements over public routes need action within 24 to 72 hours.
- Inspect after storms, heavy rain, strong wind, falling debris reports or nearby construction work.
- Cordon off the ground area below any suspected falling hazard and keep it until a qualified person confirms safety.
Table of Contents
- Why Facade Maintenance Risks Matter for Building Owners
- Step 1: Build a Building Facade Inspection Checklist
- Step 2: Run a Facade Maintenance Risk Assessment
- Step 3: Set Facade Inspection Frequency and Triggers
- Step 4: Protect Workers With Safe Working at Height Methods
- Step 5: Manage Loose Elements, Emergency Response and Records
- Booking a Facade Risk Review With KTV Working Drone Thailand
- Frequently Asked Questions
Why Facade Maintenance Risks Matter for Building Owners
Facade failures are one of the quieter threats facing building owners in Thailand. A loose cladding panel, a cracked sealant joint or a blocked drainage path can turn into a costly repair or a public safety incident.
Facade maintenance risk is the chance that a building's exterior will fail, injure someone, or cost more to fix than it should.
Most of these risks grow slowly and show warning signs first. Catching those signs early is far cheaper than responding to a failure. The steps below move from inspection to risk ranking, scheduling, worker safety and records.
Step 1: Build a Building Facade Inspection Checklist
A good checklist turns a vague worry into a repeatable process. Start with the elements that most often cause trouble, then record what you find every time.
A common mistake is inspecting only what is easy to see from the street. Upper floors, rooflines and joints are where early defects usually hide.
Checking Cladding, Sealants and Joints
Work through each facade elevation and note the condition of:
- Cladding panels, including cracks, bulging, or loose fixings
- Sealant around windows, doors and panel joints, looking for gaps or hardening
- Expansion joints and corners, where movement concentrates
- Coatings and finishes, noting fading, flaking or staining
Record the location, the defect type and a photo for each item. Consistent photos make it much easier to see change over time.
Spotting Water Ingress and Loose Elements
Water is the most common cause of facade damage. Check for:
- Staining or efflorescence below windows and joints
- Damp patches on internal walls near the exterior
- Blocked gutters, downpipes or drainage outlets
- Any element that moves when pressed or tapped
Treat any loose element as urgent. Mark the area, restrict access below it, and arrange a repair as soon as possible.
Step 2: Run a Facade Maintenance Risk Assessment
Not every defect deserves the same response, and treating all findings as equally urgent is how maintenance budgets get wasted and real hazards get missed. A structured risk ranking lets you defend every repair decision to owners, insurers and auditors, and it is the step most facade guides skip.
Score Four Factors, Not Two
A simple likelihood × consequence score is a start, but it hides two things that change the answer: how often people are exposed to the hazard, and how soon failure is likely. Score each finding on four factors, each on a 1 to 5 scale:
- Likelihood: how probable is failure in the next 12 months, given the defect type, age and exposure?
- Consequence: how serious would failure be, injury, property damage, loss of use, water damage to interiors?
- Exposure: how many people, vehicles or assets pass beneath or near the element each day, and for how long?
- Urgency: is the defect stable, actively progressing, or already showing movement, water entry or spalling?
Multiply likelihood × consequence × exposure to get a risk score, then use urgency as a modifier that can push a finding up one band. A cracked sealant on a rear elevation with no foot traffic is not the same risk as the same crack above a main entrance, even if the defect looks identical.
Convert Scores Into Action Bands
A score is only useful if it maps to a deadline and an owner. Use bands like these, and write the band, the deadline and the responsible person into the defect log:
- Critical (act within 24-72 hours): loose or displaced elements over public routes, active water entry into the building envelope, failed fixings, spalling with falling risk. Cordon the area, arrange temporary stabilization, and escalate to a qualified facade engineer.
- High (act within 2-4 weeks): progressing cracks, sealant failure over occupied areas, blocked drainage causing recurrent damp. Schedule a repair and re-inspect after the next significant rain event.
- Medium (plan within the quarter): early cracking, local coating breakdown, isolated damp staining with no active entry. Bundle into the next planned repair package.
- Low (monitor at next inspection): cosmetic fading, minor surface wear, staining with no structural implication. Record and compare against the previous photo.
Watch out: a low score is not permission to forget an item, defects that sit in the low band for several consecutive inspections are often the ones that jump straight to critical, so flag any finding that has not improved after two cycles.
Make the Ranking Auditable
Record the four factor scores, the resulting band, the deadline and the assigned owner for every finding. Keep the previous score alongside the new one so anyone reviewing the log can see whether the defect is stable, improving or deteriorating. This is the record that supports insurance claims, defends prioritization decisions and shows a consistent method was applied, which matters far more than the exact numbers you choose.
The article ranks each finding into action bands, each with a deadline, so the most urgent defects are handled first.
| Band | Act within | Typical findings |
|---|---|---|
| Critical | 24-72 hours | Loose elements over public routes, active water entry |
| High | 2-4 weeks | Progressing cracks, sealant failure over occupied areas |
| Medium | Within the quarter | Early cracking, local coating breakdown |
| Low | Next inspection | Cosmetic fading, minor surface wear |
Step 3: Set Facade Inspection Frequency and Triggers
Routine inspection catches slow decline. Triggers catch sudden change. You need both.
Set a baseline schedule first. Many owners inspect the full facade at least once a year, with closer checks on high-exposure elevations. Adjust the interval based on building age, material type and local weather.
Also define triggers that prompt an immediate inspection, such as:
- Storms, heavy rain or strong wind events
- Reports of falling debris or cracking sounds
- Visible water entry after rainfall
- Completion of nearby construction work
- Any repair that changes loads or fixings
Write these triggers into your maintenance plan so staff know what to do without waiting for approval.
Step 4: Protect Workers With Safe Working at Height Methods
Working at height is where facade maintenance carries its greatest human risk. Falls remain a serious hazard, so reduce the need for people to go up in the first place.

Consider these options before any worker climbs:
- Use remote or drone-based inspection to view defects without access equipment
- Plan repairs with the right access method chosen in advance
- Restrict and barricade the area below any work zone
Where people must work at height, follow the working-at-height rules and safety guidance that apply in Thailand, and keep fall protection in place for every task.
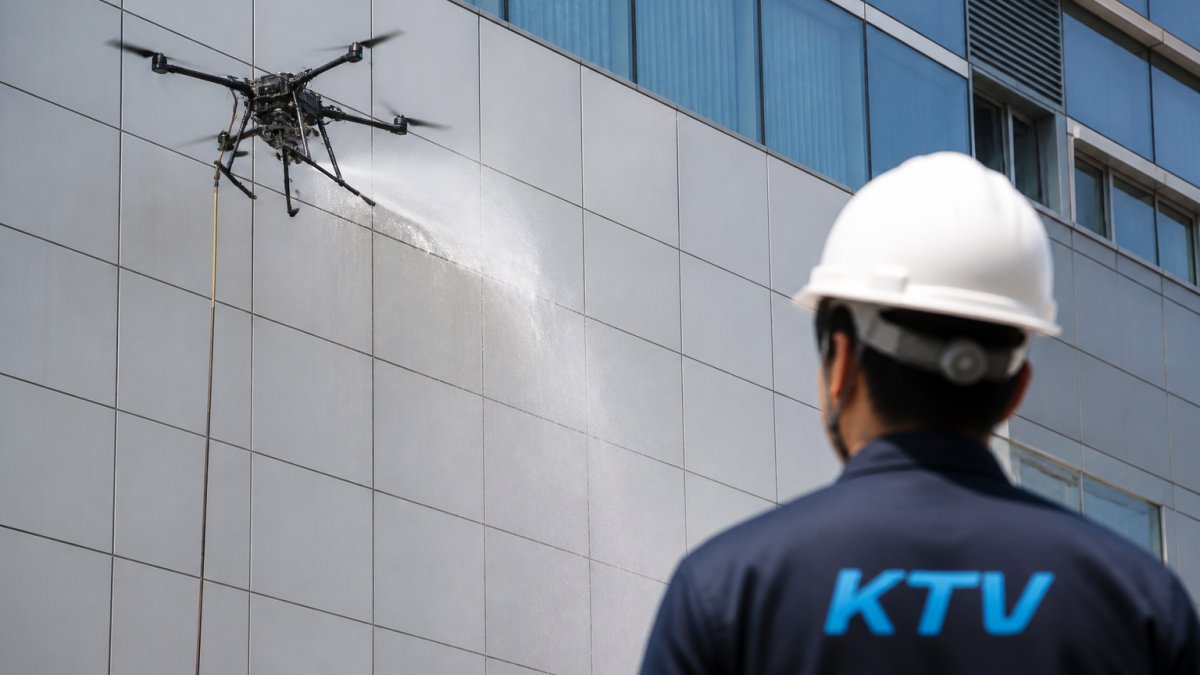
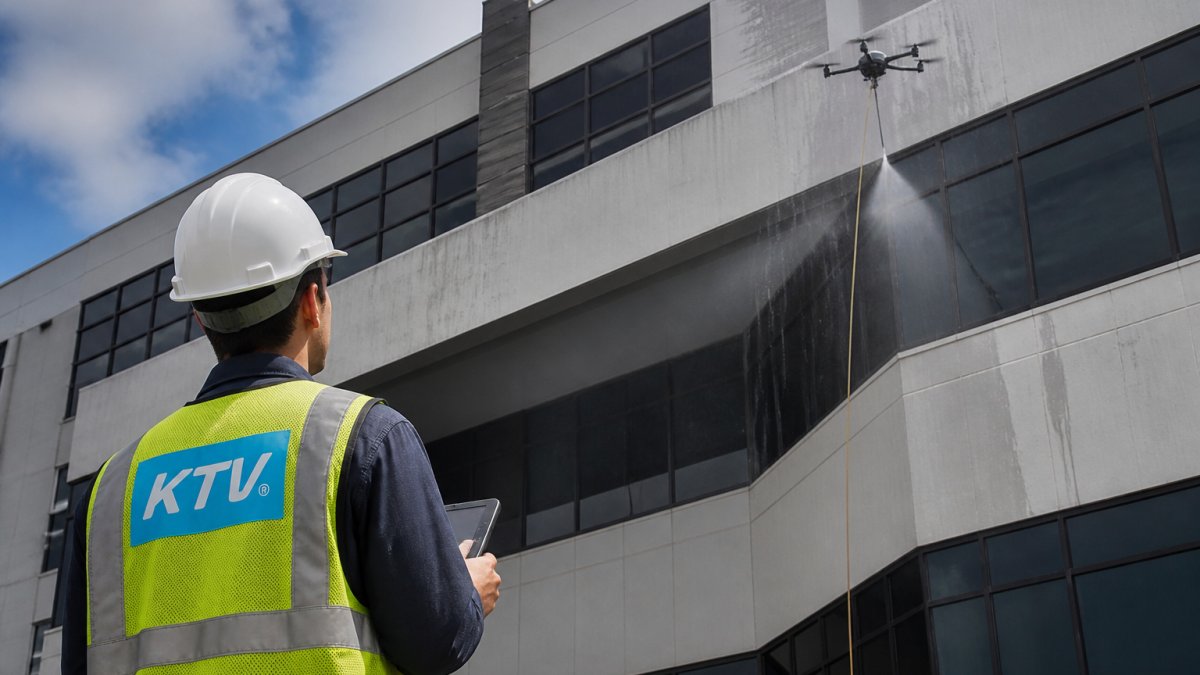
Autonomous drone facade cleaning is one way to remove the need for workers on ropes or scaffolding for cleaning work. KTV Working Drone Thailand's autonomous drone facade and window cleaning service is designed for high-rise buildings where manual access creates the most risk.
Step 5: Manage Loose Elements, Emergency Response and Records
When a facade element moves, cracks loudly or falls, the first hour decides whether the outcome is a near-miss or an injury. Prepare the response before it is needed, and keep records that prove you acted reasonably.
Immediate Response to a Suspected Falling Hazard
Treat any loose, displaced, bulging or freshly cracked element as a potential falling hazard until a qualified person says otherwise. Work through this sequence:
- Establish an exclusion zone. Cordon off the ground area below and around the hazard, extend the zone beyond the element's footprint, because debris can bounce or be carried by wind. Use barriers and signage, and keep the zone in place until the element is stabilized or removed.
- Stop exposure. Redirect pedestrians and vehicles, close affected entrances if necessary, and notify building occupants and tenants through the fastest channel available.
- Notify the chain of responsibility. Inform the building manager, the owner's representative and the responsible facade contractor. Record who was notified and when.
- Arrange temporary stabilization or removal. Depending on the element, this may mean temporary propping, netting, catch fans, or controlled removal of the loose piece by a qualified contractor. Do not let untrained staff attempt removal.
- Escalate to a qualified professional. A structural or facade engineer should assess the cause and confirm whether the rest of the elevation is safe before the zone is reduced.
- Log the incident. Record the time, location, photos, actions taken, notifications and the name of the person who authorized each step.
Watch out: reducing an exclusion zone too early, before an engineer has confirmed the surrounding facade is stable, is one of the most common ways a near-miss becomes a second incident.
Build a Documentation and Audit Trail
Records are what separate a defensible maintenance program from a reactive one. Keep a single defect log that captures, for every finding:
- Date, elevation, floor level and grid reference
- Defect type and severity band from your risk assessment
- Photographs, taken from a consistent angle so change is visible over time
- Inspection method used (visual, drone, close-up access)
- Repair scope, contractor, date completed and post-repair inspection result
- Assigned owner and next review date
Pair the defect log with the inspection reports, repair records and incident reports, and store them where they can be retrieved quickly for audits, insurance claims and disputes. Review the log at least annually to spot repeat problems, the same defect recurring on the same elevation usually points to a design, detailing or material issue rather than a one-off repair.
Connect Records to Lifecycle Budgeting
A well-kept log is also a budgeting tool. Group findings by elevation and material, and track repair spend against them over several years. When repairs on one system, say sealant joints or a particular cladding type, start recurring, compare the cumulative repair cost against the cost of replacement or a planned refurbishment. That comparison, backed by the log, is what turns a series of emergency repairs into a lifecycle plan owners can fund in advance rather than react to.
Booking a Facade Risk Review With KTV Working Drone Thailand
If you want an outside view of your facade risks, KTV Working Drone Thailand can help. A review can cover your inspection approach, risk ranking and access options, with findings you can share with your team and auditors.
To arrange a facade risk review, contact KTV Working Drone Thailand and describe your building, its height and your current maintenance setup.
Frequently Asked Questions
What are the main risks of building facade maintenance?
The main risks are falling or loose facade elements that endanger pedestrians, water ingress through failed sealants and cracks that damages interiors, material degradation from weather exposure, and fall hazards for workers accessing the exterior. Each risk grows when inspections are irregular or records are incomplete. Ranking these risks by likelihood and consequence lets owners direct budget to the defects that matter most first.
How often should a building facade be inspected?
Routine facade inspection frequency depends on building age, material type, exposure and past defects, but a scheduled inspection at least annually is a sound baseline. Trigger-based inspections should follow major storms, visible cracking, water staining, reported falling debris or any structural alteration nearby. Recording the interval and the trigger for each inspection helps demonstrate a consistent, auditable maintenance programme.
What should a facade maintenance risk assessment include?
A facade maintenance risk assessment should list each facade zone, identify hazards such as loose cladding or failed seals, estimate likelihood and consequence, and assign a priority rating. It should also note public exposure below the building, access method, the controls already in place and the owner of each action. Reviewing the assessment after every inspection keeps the priority list current and supports repair planning.
What are safer alternatives to scaffolding for facade maintenance?
Safer alternatives include drone-based inspection and cleaning, which keeps personnel off the facade entirely, and elevated work platforms used with fall protection where a person must attend the surface. Drone methods remove work-at-height exposure for routine tasks, while manual access remains necessary for some repairs. Pricing depends on building size, access requirements and scope, so request a site-specific quote from KTV Working Drone Thailand for current rates.